lit junior toy story – visuel #3
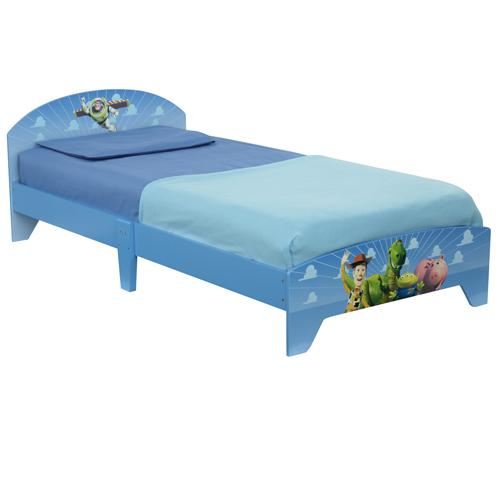
lit junior toy story lit junior toy story - visuel #3.
source de la photo : http://www.cdiscount.com/maison/meubles-mobilier/lit-enfant-toy-story/f-117601502-car5013138633397.html
lit junior toy story lit junior toy story - visuel #3.