lit junior toy story – visuel #5
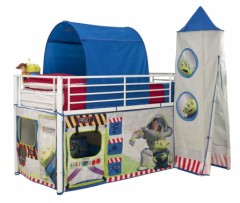
lit junior toy story lit junior toy story - visuel #5.
source de la photo : http://www.unmaxdidees.com/decorer/index.php/post/tente-de-lit-chambre-enfant-tente-de-lit-pour-fille-ou-garcon-tente-de-lit-pas-chere-pour-lit-d-enfant