lit junior baldaquin – visuel #6
lit junior baldaquin lit junior baldaquin - visuel #6.
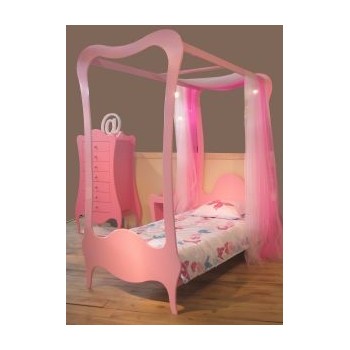
source de la photo : http://www.loiseaufaitsonnid.com/mobilier-enfant-lit-enfant-ado/85-lit-volute-enfant-baldaquin-mathy-by-bols.html
lit junior baldaquin lit junior baldaquin - visuel #6.